This is a step-by-step guide on how to stake Nillion (NIL) with the Keplr wallet.
Nillion is a decentralized network designed for secure and private data processing. It leverages advanced cryptographic techniques such as Multi-Party Computation (MPC) to enable secure data processing without exposing sensitive information. Potential use cases include confidential AI model training, secure messaging, private healthcare analytics, and more. By ensuring data security and distributing trust, Nillion enables the development of secure Web3 applications and enhances privacy across industries.
Keplr is an open-source web app, mobile application, and browser extension wallet that supports the Cosmos interchain ecosystem. While other non-custodial wallets are available, Keplr is one of the most widely adopted options, making it a practical choice for this guide.
At the time of writing, Nillion doesn't offer a native staking dashboard. Instead, users can stake their NIL tokens through compatible wallets. In this guide, we'll walk you through the steps to stake using Keplr.
Step 1 - Set up your wallet for NIL
Ensure you are logged in to your Keplr wallet, this assumes you already have a Keplr wallet account. If you don't have a Keplr wallet account yet, you can download Keplr wallet from keplr.app and then follow this dedicated tutorial on how to set up your Keplr wallet account.
- Open the Keplr wallet extension and go to "Manage Chain Visibility".
- Search for NIL, tick the box, and click "Save".
Step 2 - Fund your wallet
Before you can stake, make sure you have NIL tokens in your wallet. If you already have tokens, proceed to the next step.
- You can purchase $NIL on centralized crypto exchanges like Gate.io, Binance and KuCoin or decentralized exchanges such as Osmosis.
- Next, deposit your $NIL to your Keplr wallet by selecting “NIL” on the left menu under assets.
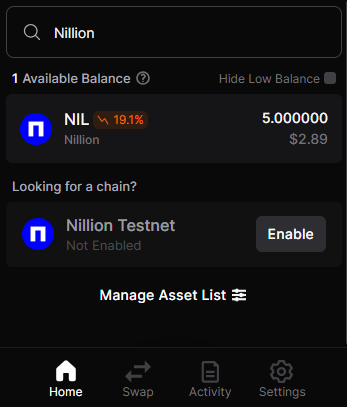
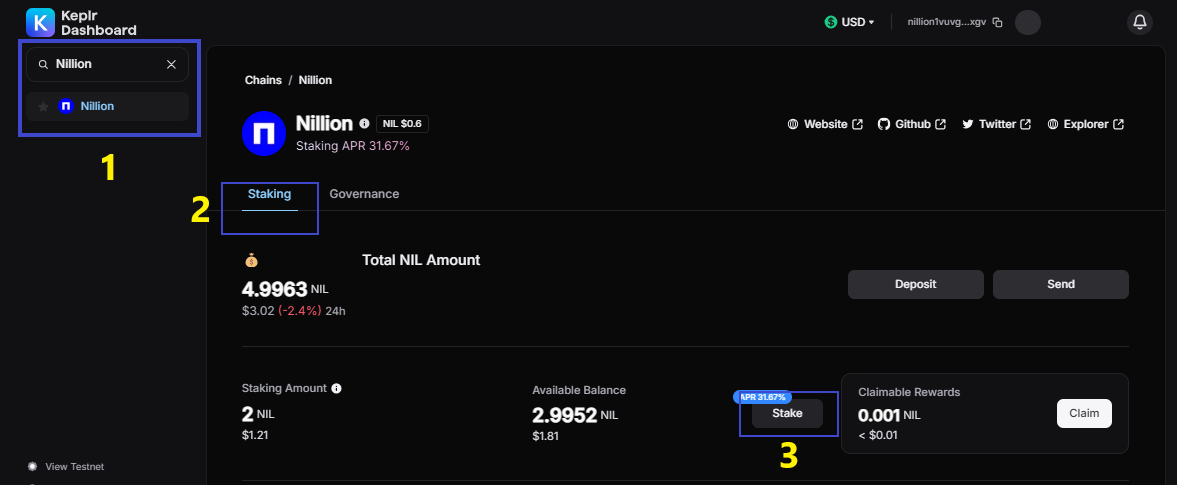
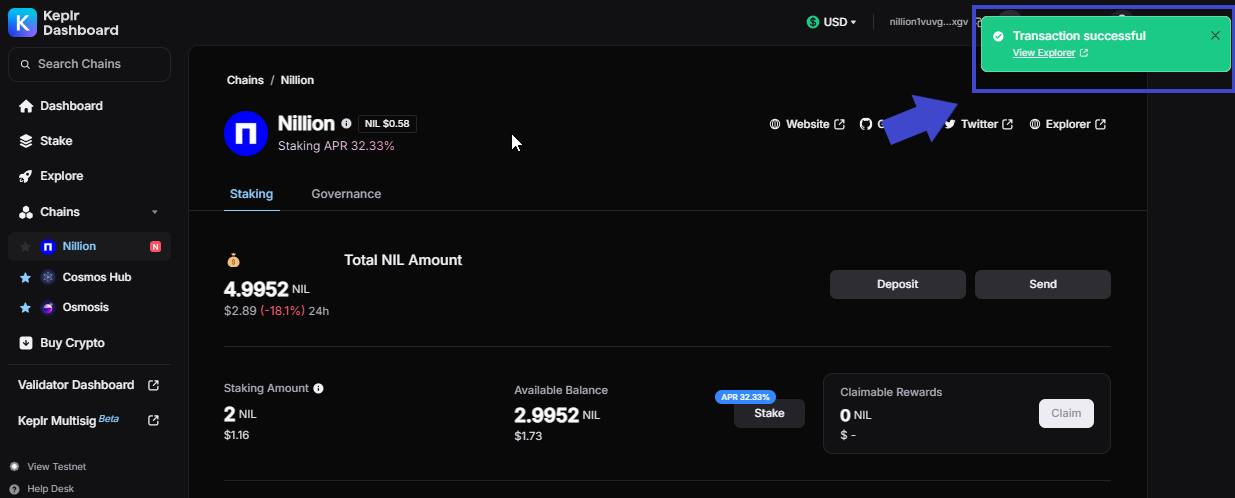
After following these steps, your Keplr wallet should look like this when you search for “Nillion”:
Step 3 - Stake your NIL
You are now ready to stake your $NIL tokens.
- Go to: https://wallet.keplr.app/
- Next, select the NIL staking tab, by typing “NIL” in the Search Chains textbox on the upper left corner.
- Click "Stake".
Once the transaction is confirmed, your tokens will be delegated and start earning rewards.
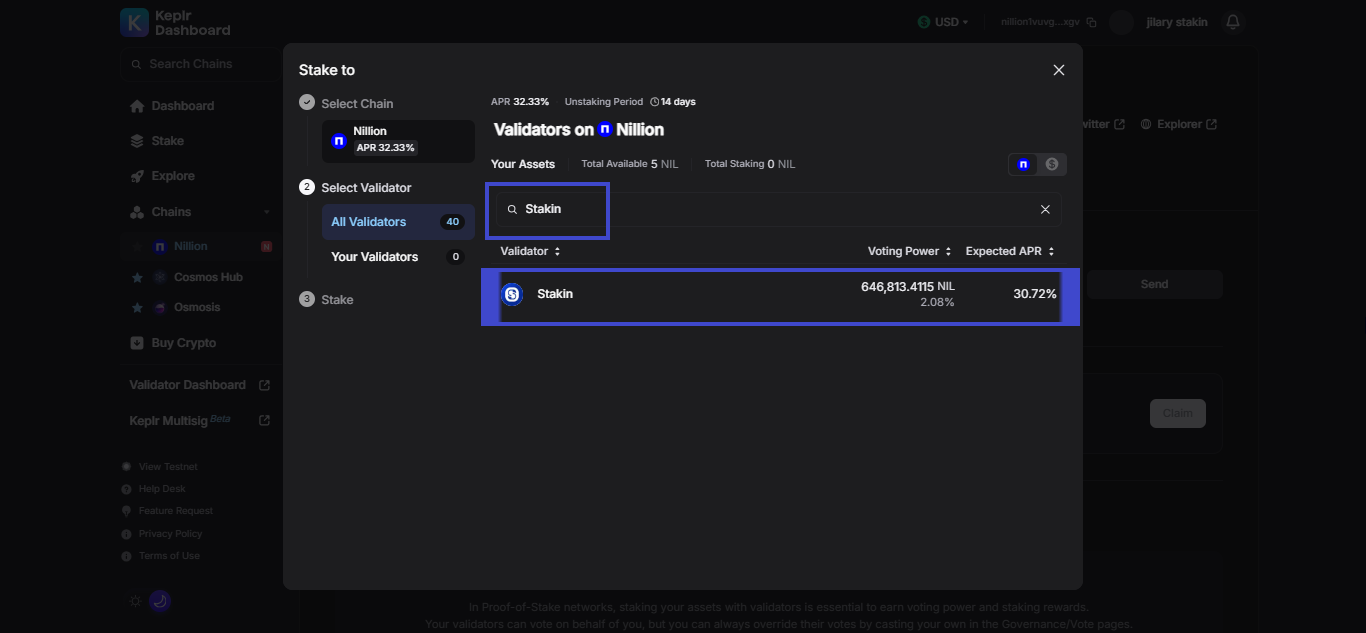
Review the details, such as Commission, current Voting Power, and Unbonding Period. To proceed, click "Stake"
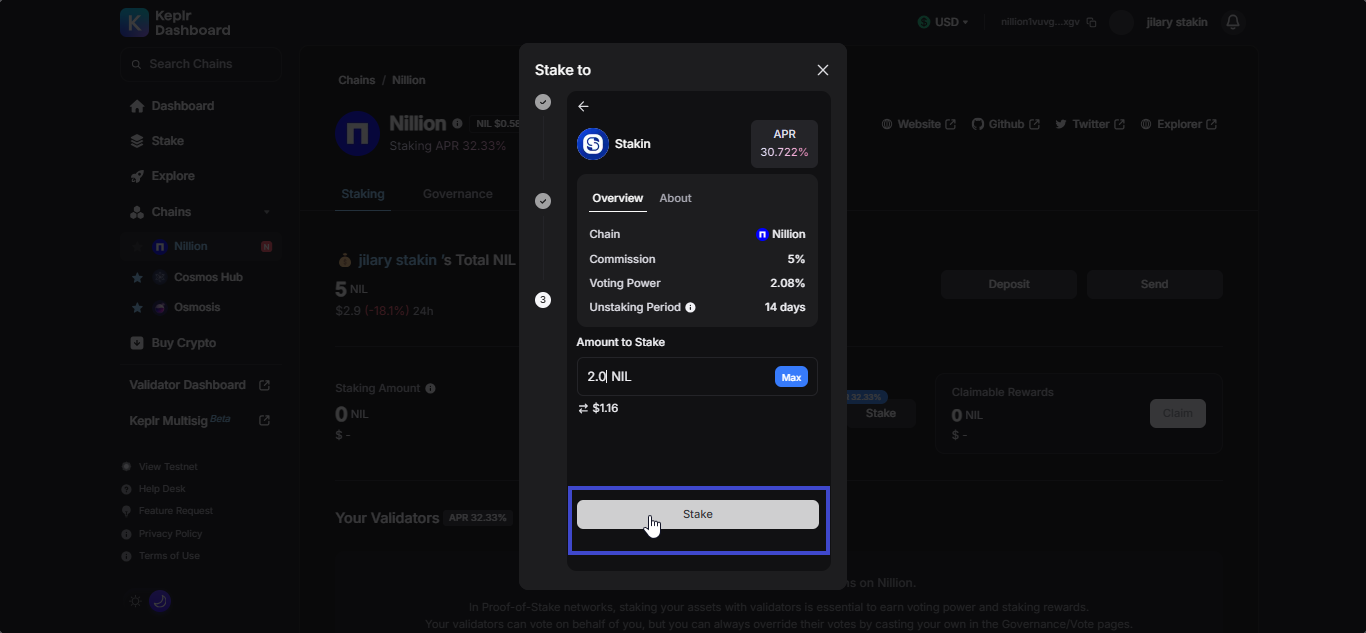
On the newly opened popup, click “Stake”. Next, fill out the number of $NIL that you’d like to stake and click “Stake” once again.
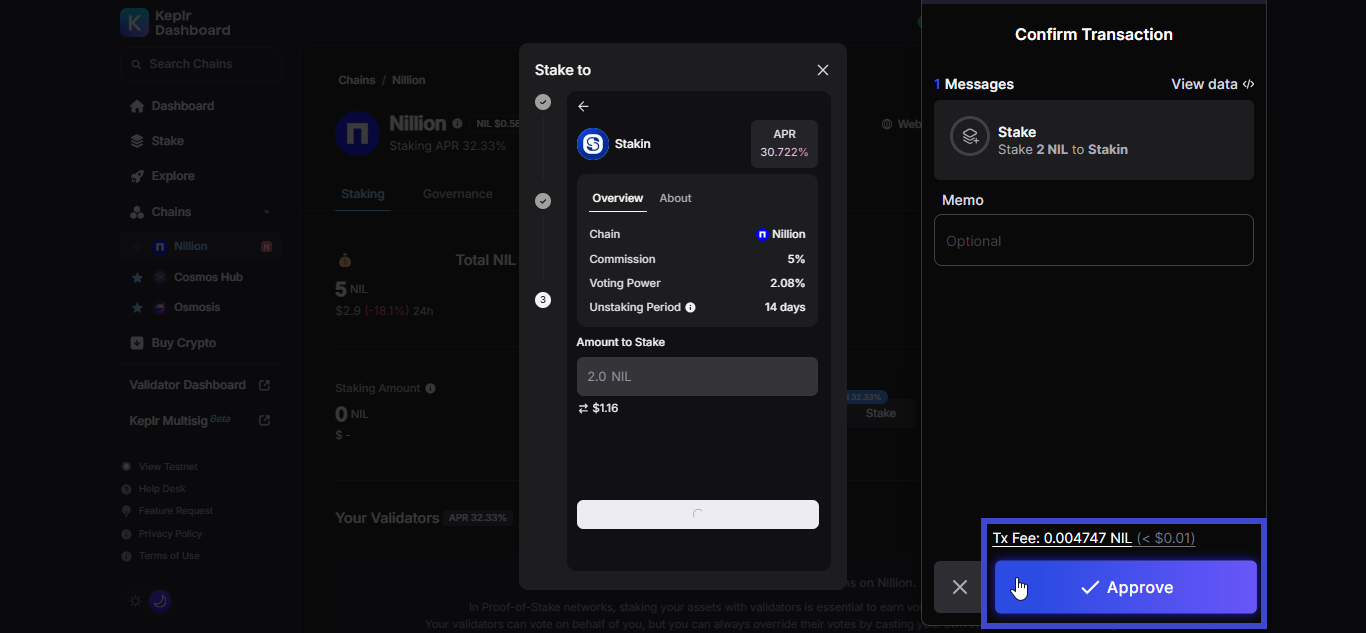
A new popup will prompt you to sign the staking transaction on-chain. Check the transaction details and select “Approve”.

Congratulations! You have now staked your $NIL tokens with Stakin. From here you can also Unstake your tokens or Switch Validator when needed.
Staking rewards on Nillion need to be manually claimed and restaked. However, this can easily be automated with https://restake.app/. Stakin has also enabled auto-compounding for Nillion, which helps you automatically claim and restake your staking rewards to maximise yield. For further instructions, check The Ultimate REStake Auto-Compounding Guide.
Step 4 - Manage your stake: Claims Rewards
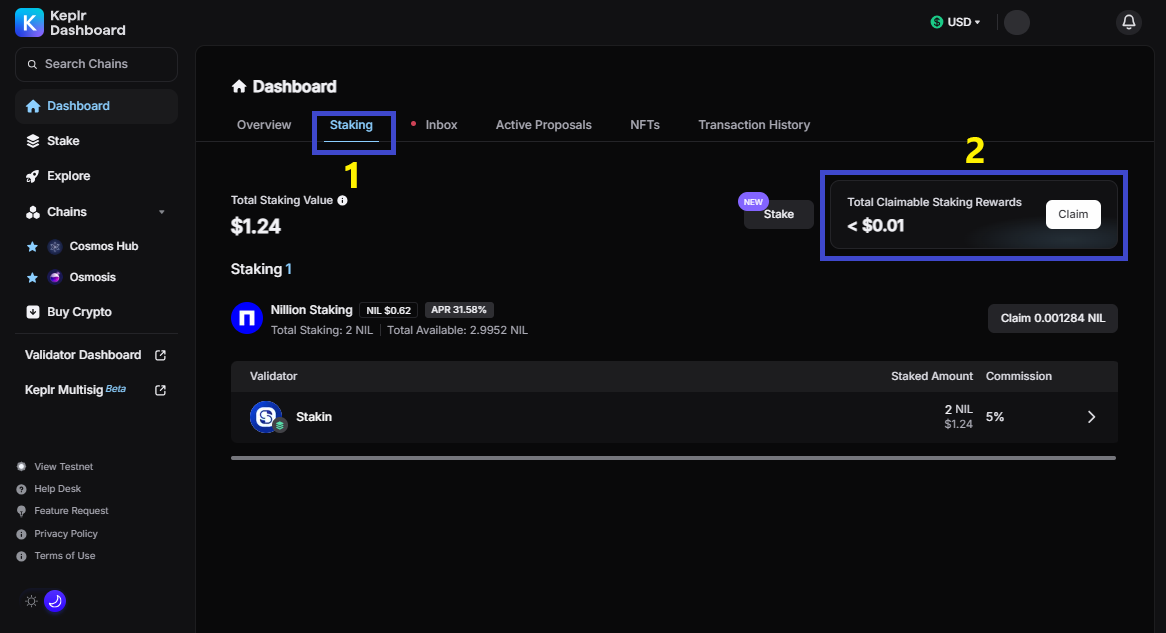
Inside your Keplr Dashboard, right next to the Overview tab, click on the Staking tab. There you'll find a section labeled Total Claimable Staking Rewards.
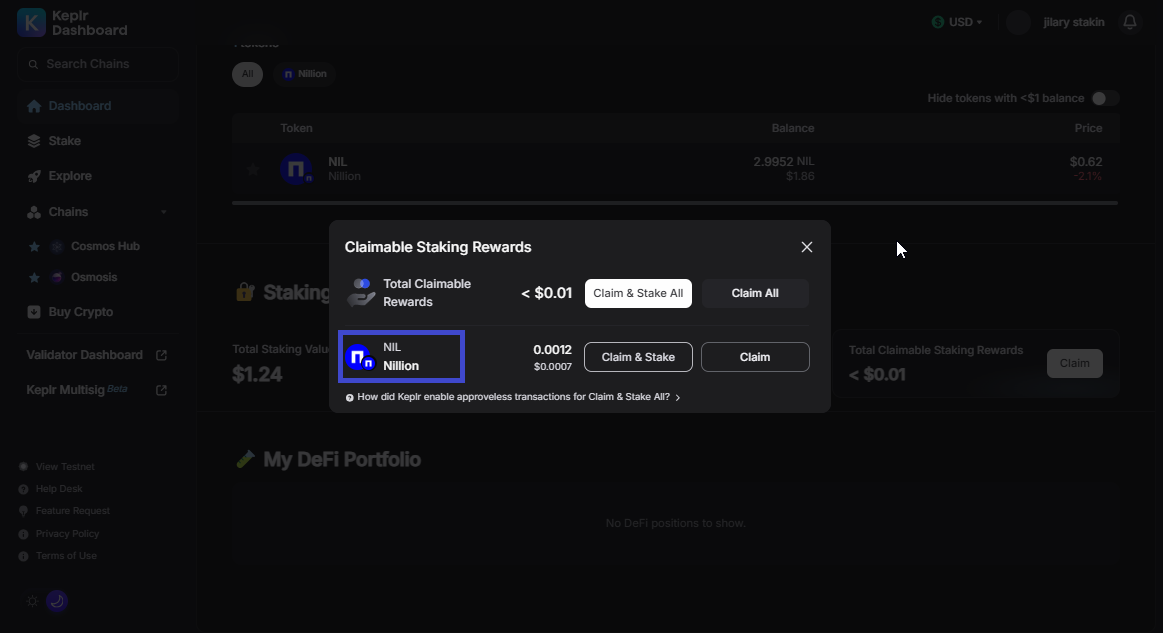
Click on that box and a window will pop up showing your claimable tokens. Select Nillion (NIL) and click “Claim” to receive your staking rewards.
Step 5 - Manage your stake: Unstake your NIL tokens
To unstake your tokens, go to the Staking tab in your Keplr Dashboard and click on the “Stakin” Validador where your $NIL is currently staked. Once the validator´s window opens, click “Unstake”
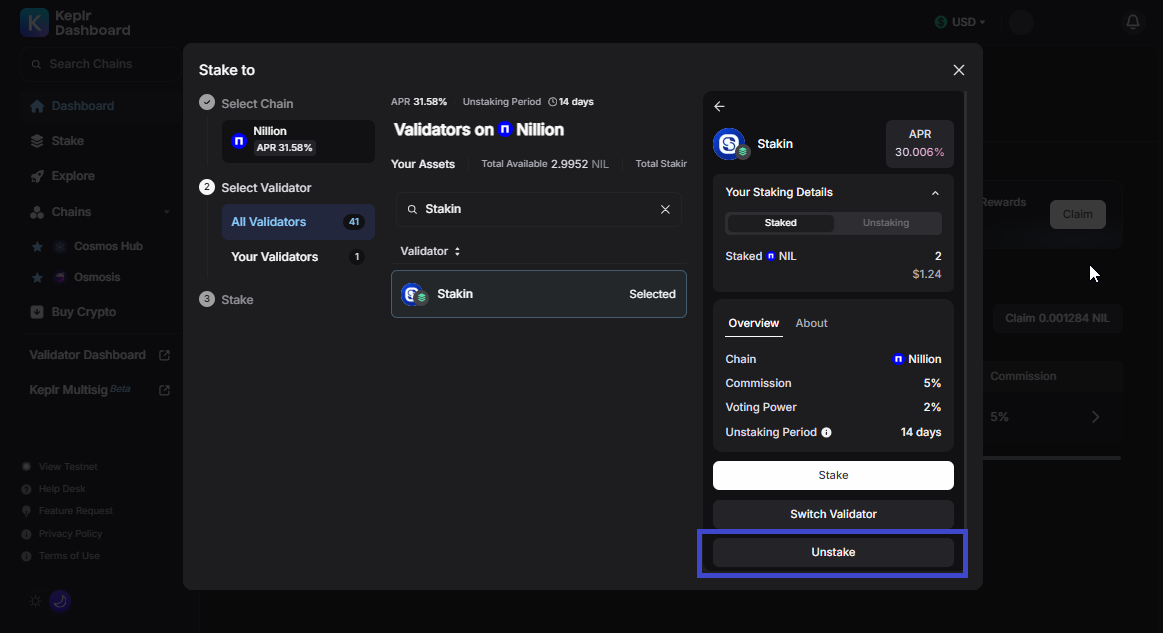
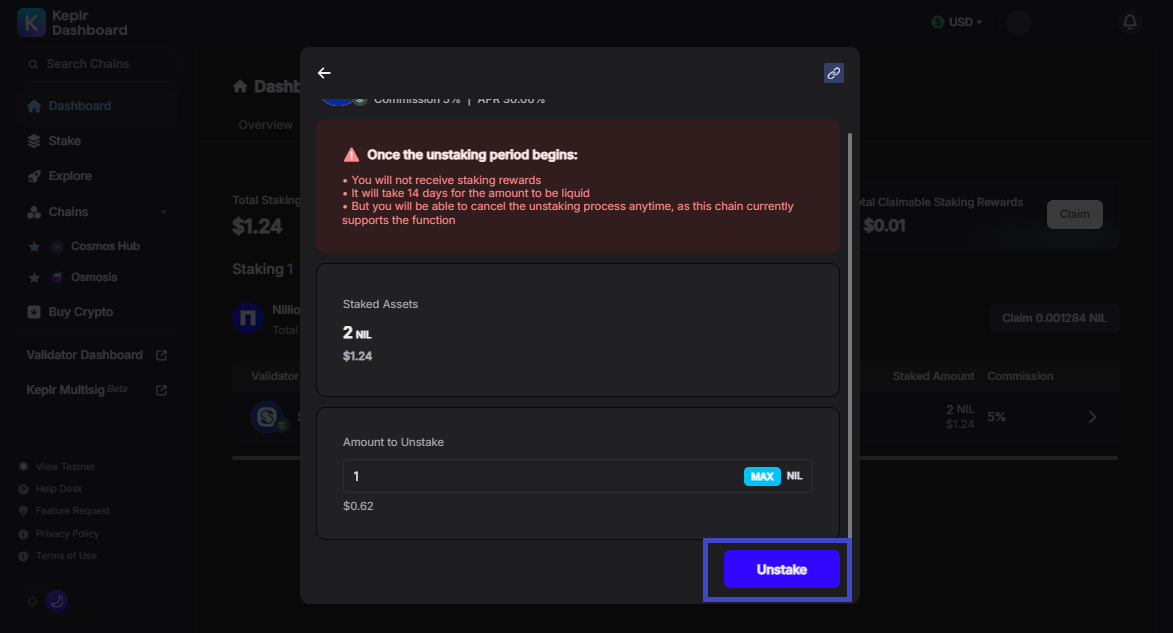
A confirmation screen will appear. Enter the amount you want to unstake and confirm the action by clicking “Unstake” again.
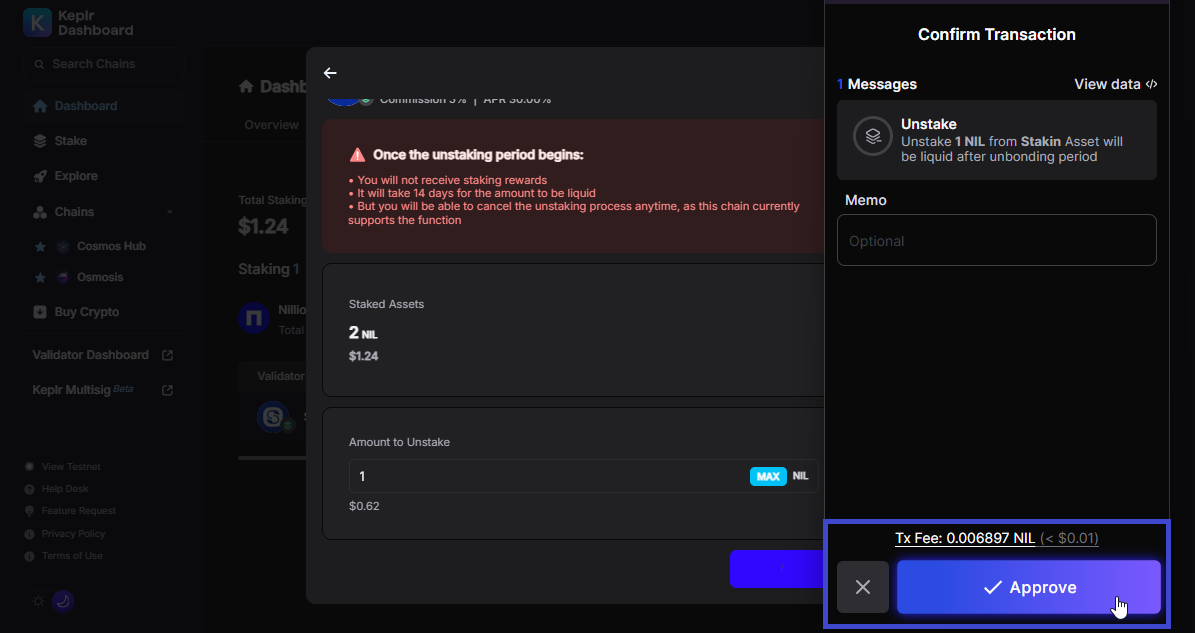
After that, confirm the transaction in the Keplr extension popup.
DISCLAIMER: This is not financial advice. Staking, delegation, and cryptocurrencies involve a high degree of risk, and there is always the possibility of loss, including the failure of all staked digital assets. Additionally, delegators are at risk of slashing in case of security or liveness faults on some protocols. We advise you to do your due diligence before choosing a validator.