This is a step-by-step guide on how to stake Chromia with MetaMask on BNB Chain.
Chromia is a Layer-1 relational blockchain that allows to build and deploy dApps suitable for mass-scale and real-world use cases. When you stake $CHR, you contribute to the security and stability of the network. With Chromia, you have the option to stake native $CHR on Chromia, ERC-20 CHR on Ethereum, and BEP-20 on BNB Chain.
MetaMask is a widely used cryptocurrency wallet that supports multiple blockchains, including Ethereum, BNB Chain, and multiple Layer 2 networks.
How to stake your $CHR tokens
Please note, you will need:
- a MetaMask Wallet;
- $CHR tokens and $BNB to cover the transaction fees.
- You will need at least 10 CHR tokens to create the account on Chromia
In this guide, we will be using BNB Chain, but technically you can also use the same guide on Chromia and Ethereum Network.
Step 1: Visit the Chromia Staking portal and click on "Connect Wallet".
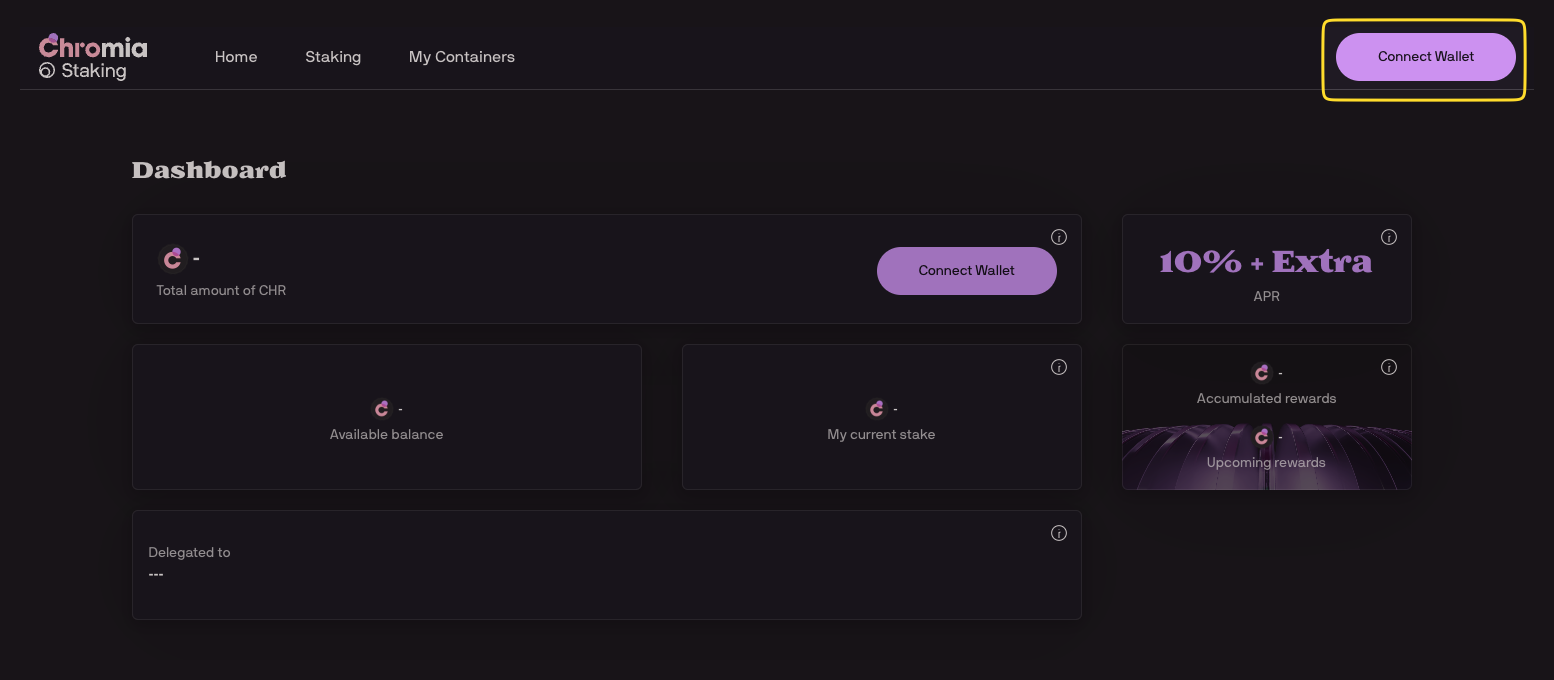
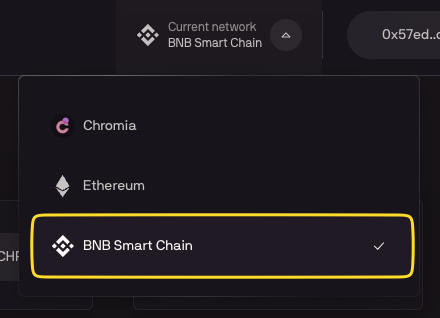
After you have connected your wallet, make sure you are connected to BNB Smart Chain
Step 2: Stake CHR
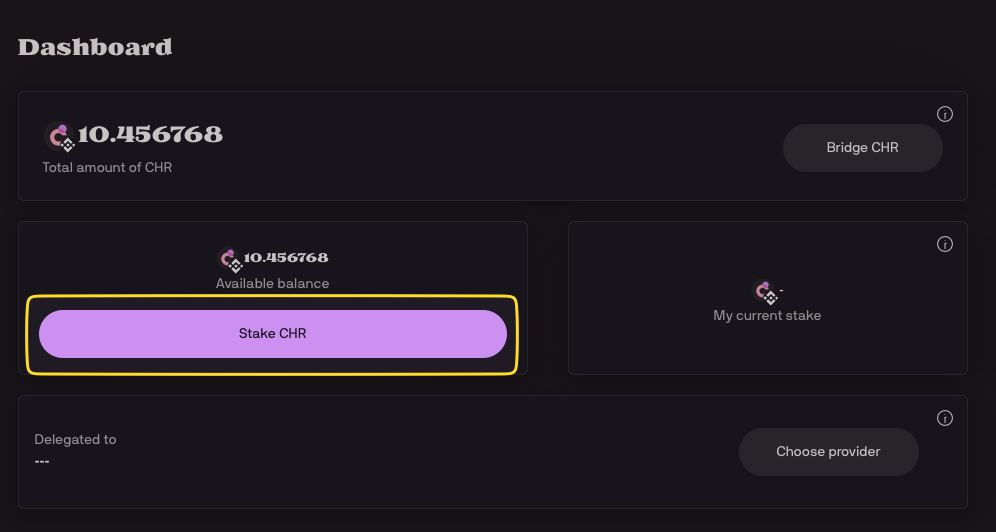
On the dashboard, click on "Stake CHR".
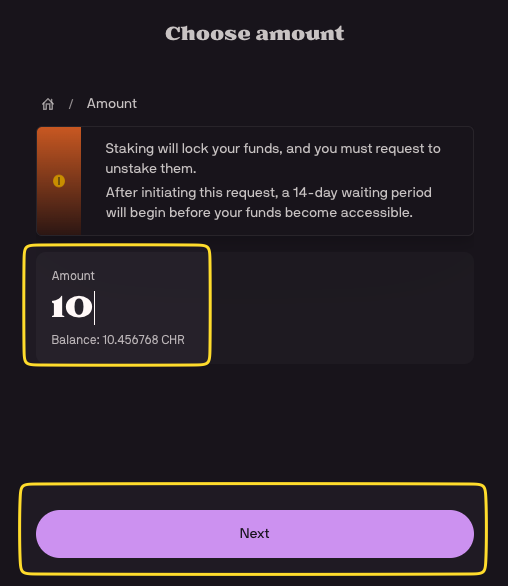
Then specify the amount you wish to stake and click "Next".
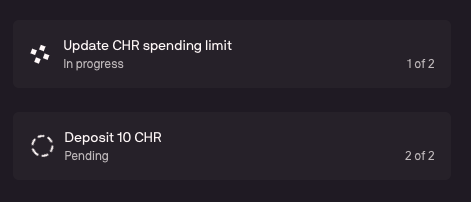
On the next screen, you need to confirm 2 transactions. Firstly to Update the $CHR spending limit in MetaMask. The amount can be the same as the amount you wish to stake. Secondly, you will need to approve the Deposit of $CHR.
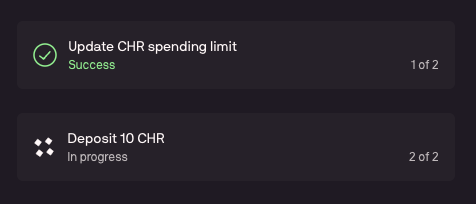
Once the two steps are completed, you will see the confirmation screen. You can now return back to the Dashboard.
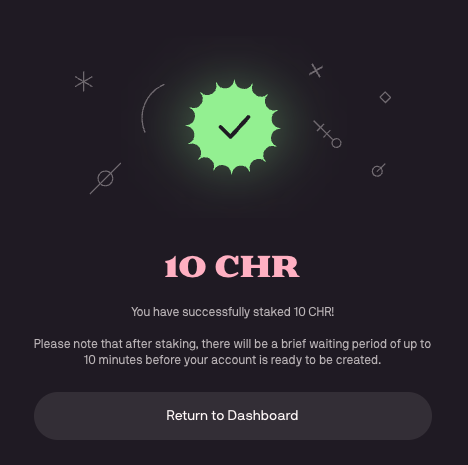
Step 2: Choose your provider
On the Dashboard you see a message, that to receive rewards, you need to delegate your stake to the provider. Click on "Choose provider".

When choosing your provider, you entrust them with validating transactions on your behalf. Once you have chosen the provider, any future stake will automatically go to your selected provider. Keep in mind that the amount of rewards earned varies based on the performance of the provider.
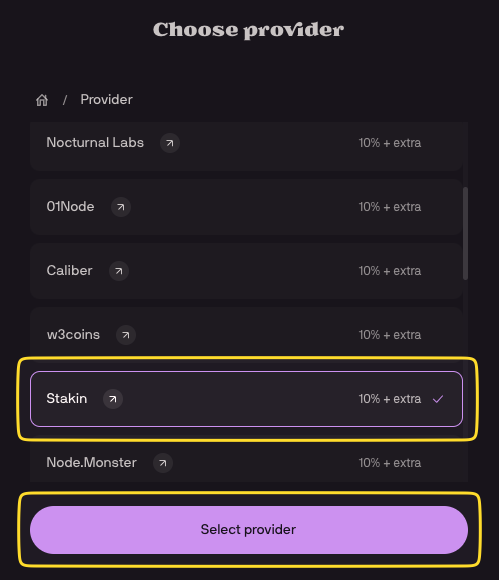
As this is your first time staking $CHR, you will need to create a Chromia account. Click on "Create Chromia account".
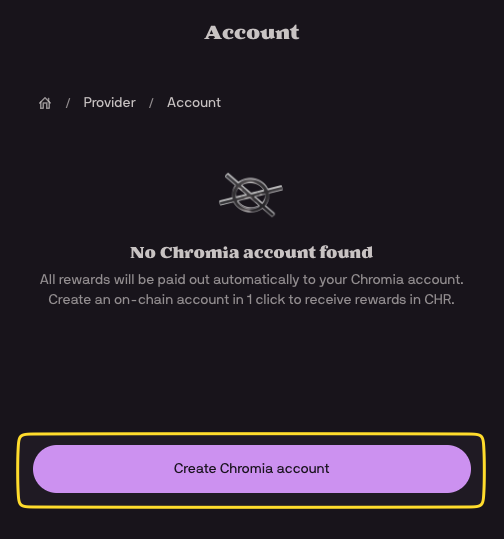
Now you will again need to approve two transactions in MetaMask
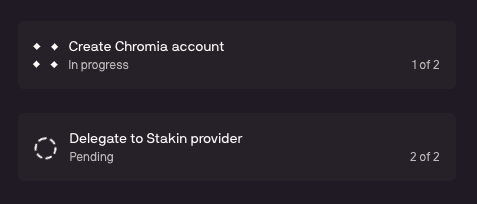
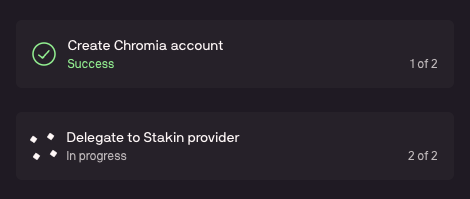
After successful completion, you will get a success message:

Congratulations - you have staked $CHR and will now start earning staking rewards.
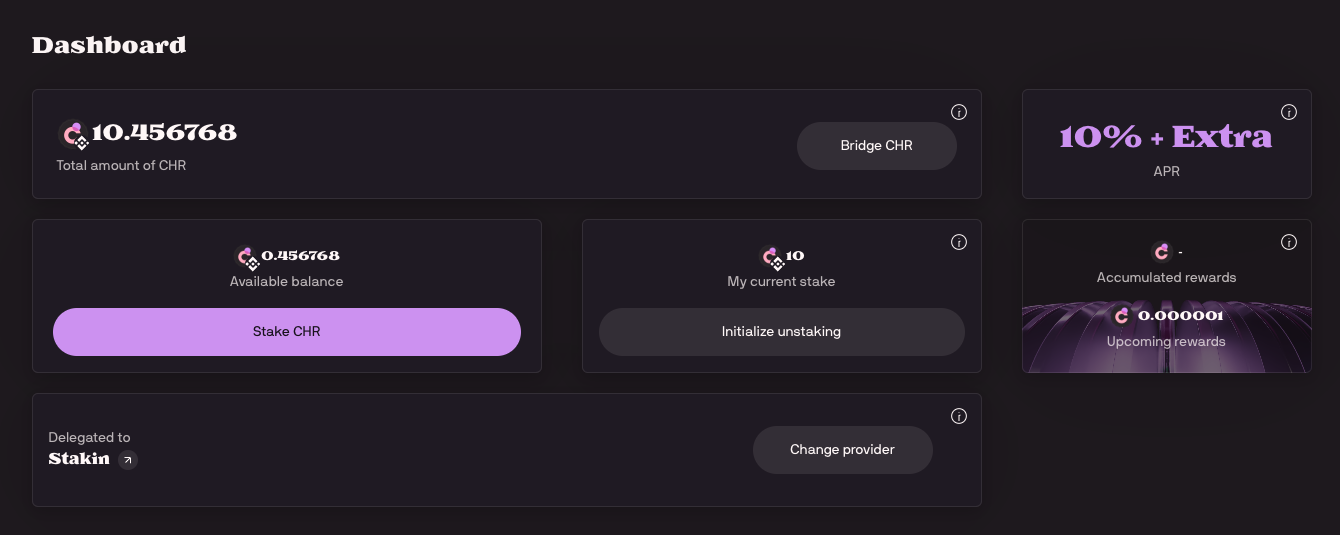
On the dashboard page, you can always monitor your rewards and also initialize unstaking. If you have any questions or need help, feel free to reach out to our team.
DISCLAIMER: This is not financial advice. Staking and cryptocurrency investment involve a certain degree of risk, and there is always the possibility of loss, including the loss of all staked digital assets. Additionally, delegators are at risk of slashing in case of security or liveness faults on some PoS protocols. We advise you to DYOR before choosing a validator.
